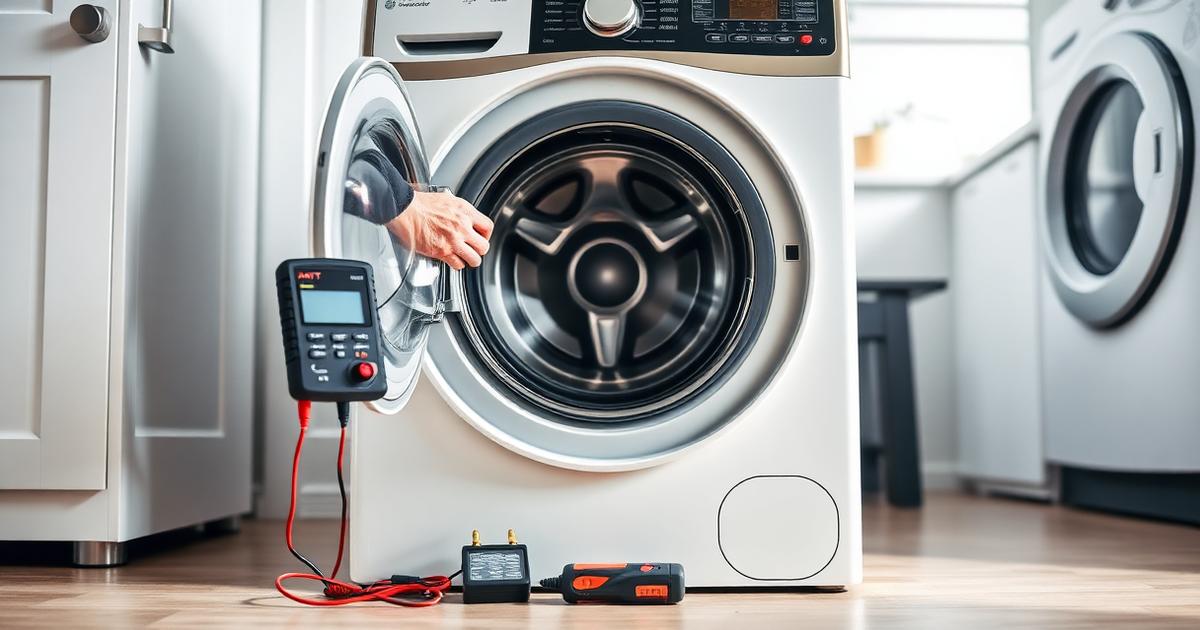
Washers are the most DIY-friendly appliance in the house. Most of what fails is mechanical, accessible, and cheap — pumps, hoses, filters, lid switches, shock absorbers. The trap is the small set of failures that look simple and are not: anything involving the main control board, the drive motor, or a leaking outer tub.
Here is the honest split, based on the calls we actually run.
Before you touch anything
- Unplug the machine. Not "turn it off" — unplug it. Washers hold voltage and start unexpectedly.
- Shut both water valves behind the unit.
- Have towels and a shallow pan ready. Every washer repair spills water.
- Photograph each step before you disassemble. Reassembly is where most DIY jobs go wrong.
1. Washer will not drain
What it looks like: cycle ends with standing water, or the machine stalls before spin.
Most likely causes, in order: clogged drain pump filter, sock or coin lodged in the pump impeller, kinked or clogged drain hose, failed drain pump, clogged house standpipe.
DIY: yes. This is the single most rewarding washer repair. Open the lower access panel, drain the reservoir into a pan, remove the pump filter and clear it. On front-loaders, coins and hairpins collect in the pump housing constantly. A five-minute job saves a $220 service call.
Stop and call if: the pump is clear, the hose is clear, and the pump still does not hum — that is an electrical or control fault.
2. Washer will not spin
Most likely causes: door or lid lock switch failure, unbalanced load, worn drive belt, failed motor coupler (direct-drive top-loaders), failed speed sensor.
DIY: partly. Redistribute the load and test again. Lid switches and drive belts are genuinely accessible on most top-loaders and are $20–$60 parts. Motor couplers on direct-drive Whirlpool-family machines are a well-documented DIY job.
Stop and call if: the drum will not turn by hand, or you hear a metallic grind — that points to bearings or the transmission, where the repair cost usually approaches replacement.
3. Washer will not fill (or fills slowly)
Most likely causes: closed or partly closed supply valve, clogged inlet screens, kinked hose, failed water inlet valve, failed pressure switch or clogged pressure hose.
DIY: yes for the first four. Shut the water, disconnect the hoses, and clean the mesh screens at the inlet valve — they trap sediment constantly and are the most common cause of slow filling. Replacing an inlet valve is a two-connector, two-screw job on most machines.
Stop and call if: the valve gets power but does not open, and replacing it does not fix the fill — that indicates a control board or pressure-sensing fault.
4. Washer leaks
Where the water is coming from decides everything:
| Leak location | Likely cause | DIY? |
|---|---|---|
| Behind the machine | Supply hose or fitting | Yes |
| Front, below the door | Door boot / gasket tear | Yes, with care |
| Under the middle | Drain pump housing or hose clamp | Yes |
| From the base after spin | Outer tub seal or bearing | No |
| Detergent drawer | Clogged dispenser or overdosing | Yes |
Stop and call if the leak only appears during spin and comes from the center of the machine. That is almost always the tub seal, which requires splitting the tub.
5. Washer shakes, walks, or bangs
Most likely causes: unlevel feet, shipping bolts never removed (yes, really), worn suspension rods or shock absorbers, worn drum bearings, overloading.
DIY: yes for leveling, shipping bolts, and suspension rods. Suspension rods on top-loaders are a $60 set and a 45-minute job. Level the machine with a spirit level on the top panel, front-to-back and side-to-side, and make sure all four feet carry weight.
Stop and call if the noise is a metallic grinding that changes with drum speed, or the drum has visible up-and-down play. That is bearings.
6. Washer smells
Nearly always a front-loader with residual moisture and detergent film. Run a hot cycle with a washer cleaner or 2 cups of white vinegar, scrub the door boot fold, clean the dispenser, pull and clean the pump filter, and leave the door ajar between loads. Switch to HE detergent and use half of what the cap says.
DIY: always. This is a maintenance issue, not a fault.
7. Clothes come out torn or unusually wet
Torn laundry points to a rough spot in the drum, a broken agitator dog, or an object caught behind the drum. Excessively wet laundry after a full cycle points to a drain restriction or a spin-speed fault.
DIY: partly. Inspect the drum by hand for burrs and check for foreign objects between the drum and tub. Anything requiring drum removal is a pro job.
8. Washer is completely dead
Check the obvious first: outlet, breaker, GFCI, and door lock. Many machines will not power up at all with a failed lid lock. If the outlet tests good and the lock is intact, you are into control-board territory.
Stop and call. Board diagnosis needs a meter, a wiring diagram, and the discipline not to swap $300 parts hopefully.
The economics: repair or replace?
Our field rule is simple. If the repair costs more than 50% of a comparable new machine and the washer is over eight years old, replace it. Under either threshold, repair. High-end front-loaders shift the math toward repair because replacement cost is high; entry-level top-loaders shift it toward replacement.
See the full breakdown in our repair vs. replace decision guide.
Hard stop list — never DIY these
- Any repair requiring the machine to run while opened up
- Gas dryer connections (different appliance, same laundry room, much higher stakes)
- Outer tub seals and drum bearings
- Control board diagnosis without a wiring diagram and a meter
- Anything after you smell burning insulation
Next steps
Not sure which of the eight you are looking at? Start a guided Maya diagnostic — describe the symptom in your own words and get a ranked cause list for your specific brand and model. If it turns out to be a DIY job, the DIY Pass walks you through it step by step with the right part numbers. If it is a bearing or a board, book a technician and skip the guesswork.
Related reading
Commercial Prep Table Troubleshooting Guide
Warm sandwich rails, warm base cabinets, ice, leaks and E1/HP/LP error codes on commercial sandwich and pizza prep tables.
Commercial RefrigerationCommercial Refrigerator Troubleshooting Guide
Compressor faults, temperature swings, ice build-up and leaks — a symptom-by-symptom checklist for restaurant and market owners.
Commercial RefrigerationWalk-In Cooler Troubleshooting Guide
Warm boxes, iced evaporators, short-cycling compressors and door problems — the checklist our commercial techs run on walk-ins.
Browse every guide on the FixGrid blog — 23 articles and counting.